W
hen I asked my Tastebud community which rusk recipe they wanted next, the answer was unanimous—Milk Tart Rusks! It didn’t even need a second vote. There’s just something about that classic South African dessert that makes people feel at home. The creamy milk custard, the cinnamon dusting, the soft warmth of every bite—it’s pure nostalgia. So, I rolled up my sleeves and got to work on turning those flavors into the perfect Milk Tart Rusks.
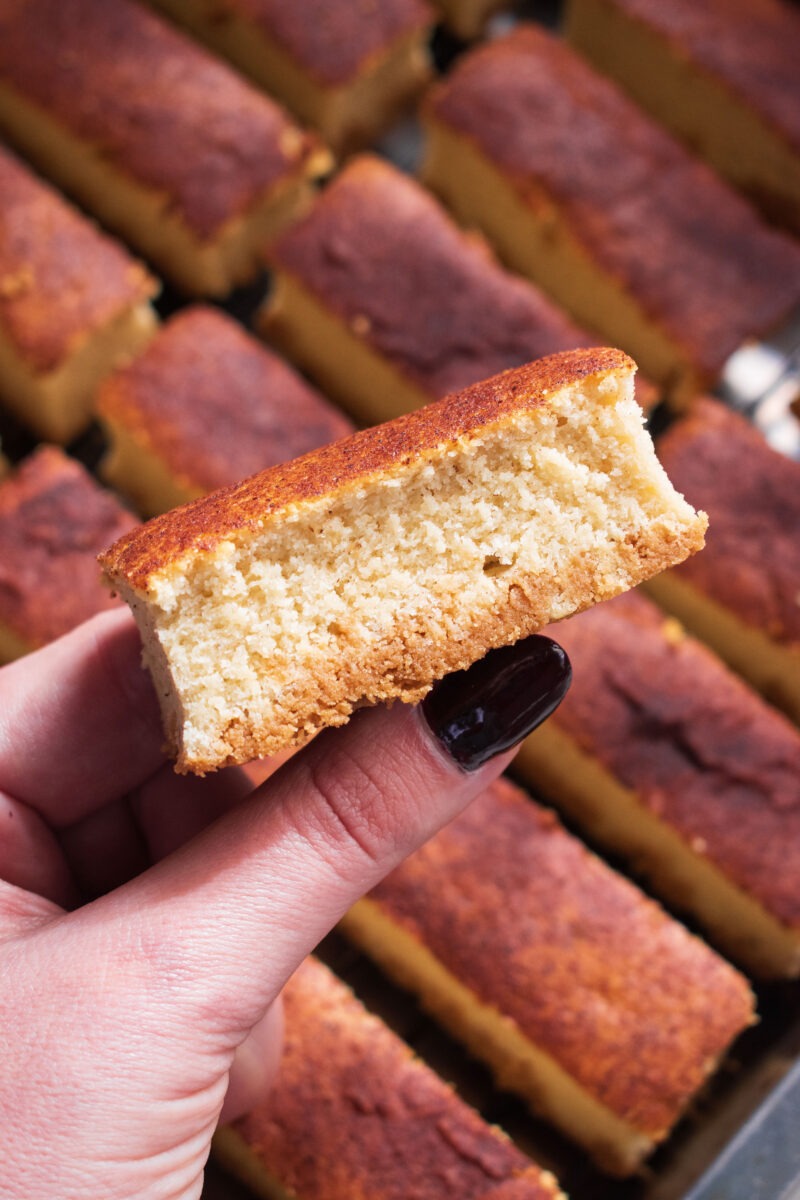
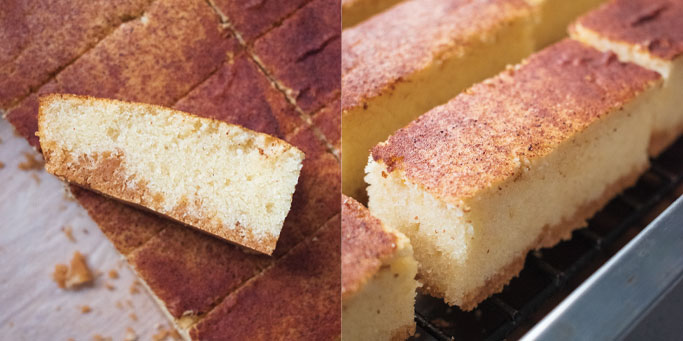
This Milk Tart Rusks version has layers. Literal ones. I start with a biscuit crumble base because I wanted texture—a bit of crunch that throws you right back into childhood, licking your fingers after a leftover tart crust. Then I pour over a warm, hot milk sponge batter, inspired by traditional melktert filling, rich with vanilla, cinnamon, and butter. Before it goes into the oven, I give it a good sprinkle of cinnamon sugar, because what is milktart without cinnamon?
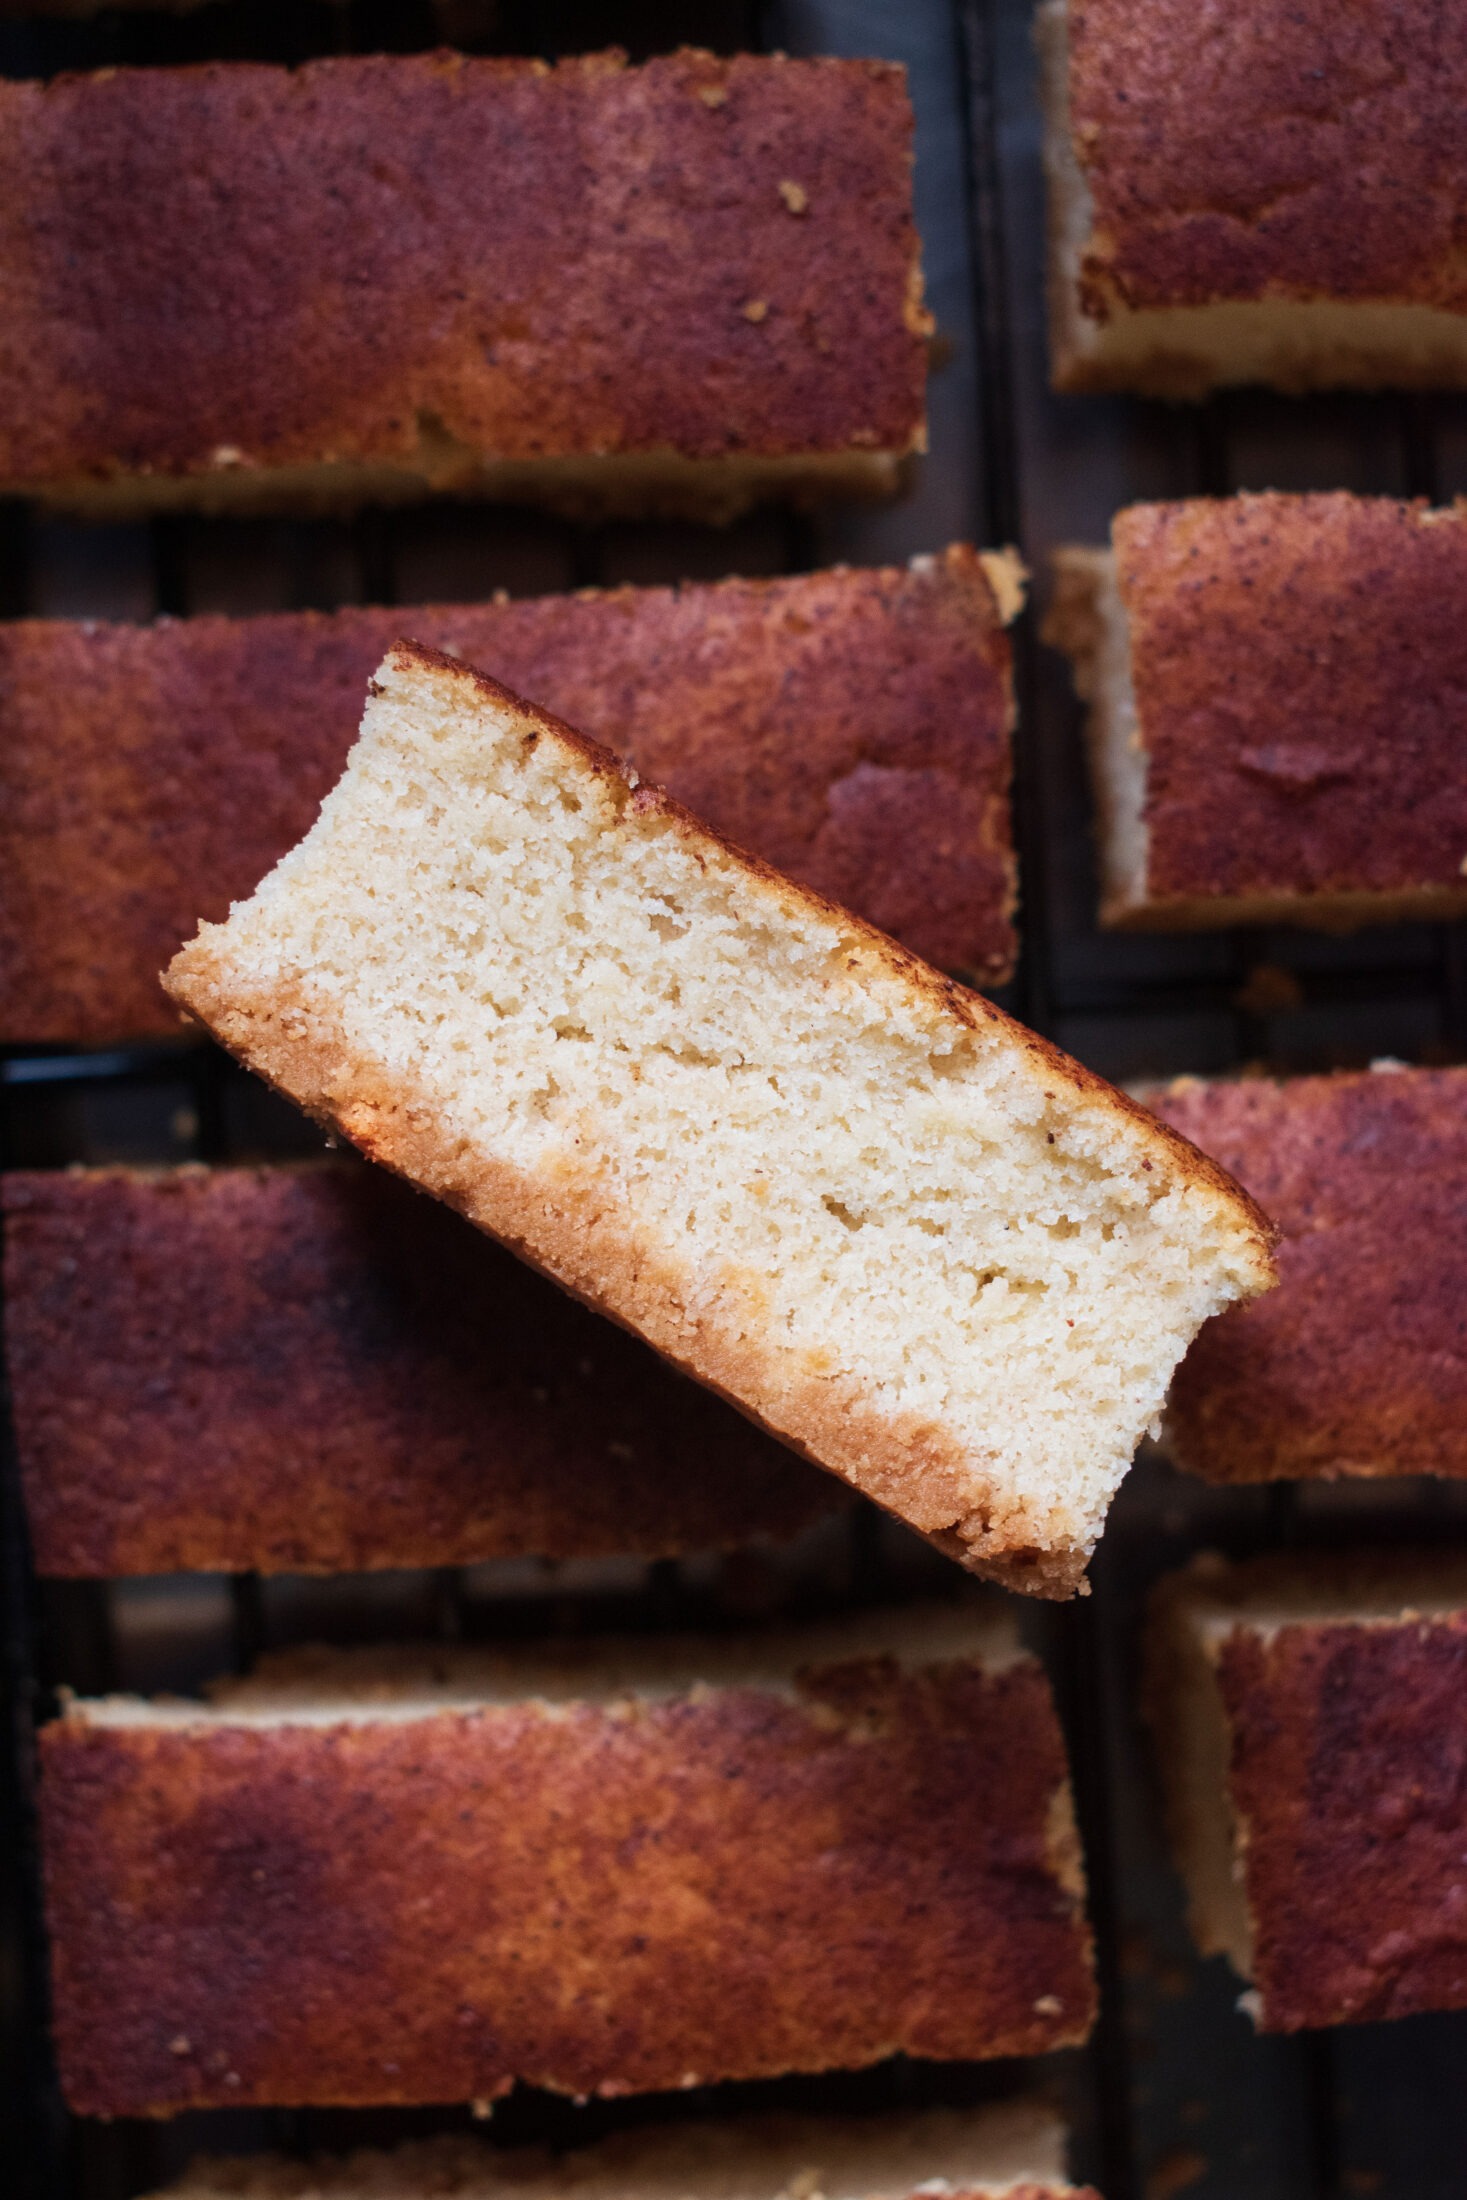
I recipe tested this Milk Tart Rusks about 3 times to make sure she’s (purrr)fect. The biscuit base is optional; the reason I wanted to add it was because I wanted to recreate that No-Bake Milk Tart taste. We love Milk Tart because of that delicious combination between the crumbly base or pastry, creamy milk custard and that cinnamon dusting. The biscuit base adds a slight coconut flavor, so if you want to go full-blown milk tart flavor on your tastebuds then omit the biscuit base. Creating this into a rusk is naturally a tad difficult because you unknowingly desire that creamy filling, but I think I did well when it comes to the look, taste, and overall rusk experience.
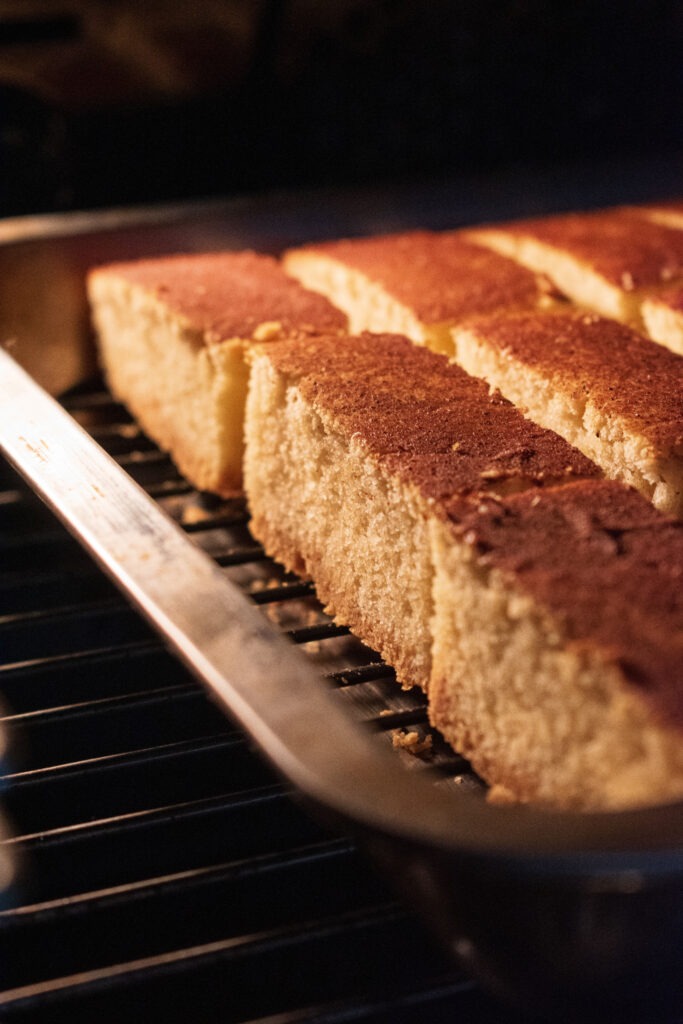
The Milk Tart Rusks dry beautifully for that signature rusk crunch, perfect for dunking in tea or coffee—or, if you’re like me, for sneaking straight off the tray while they’re still warm.
What Rusk Recipe is up next?
Crunchie Rusks babyyyy—yes, that came in second place when I asked what you wanted on Instagram. Think oat, honey, and that iconic chew, but in rusk form. It’s going to be a good one.
In the meantime, grab your apron, and get baking. This Milktart Rusk recipe is now live, and I can’t wait to see how yours turn out.
As always, submit a review of the recipe and let me know what you think !
K’ love you byyye.
xoxo
Equipment
- 1 electric mixer
- 1 large mixing bowl
- 1 spatula
- 1 baking tray 23cmx33cm
Ingredients
Biscuit Base
- 200 grams sweet biscuit of choice or coconut biscuits, see note 1
- 80 grams butter melted, salted or unsalted, see note 2
Milktart Batter
- 220g/1 cup butter softened, salted or unsalted
- 200g/1 cup white sugar see note 3
- 4 large egg whites see note 4
- 360g/2 ⅔ cup all-purpose flour or cake flour
- 2 tsp baking powder
- 1 tsp salt
- 250ml/1 cup full cream milk warmed
- 1 ½ tsp vanilla essence
- ¼ tsp ground cinnamon and extra for dusting
Instructions
- Preheat the oven to 180℃/355℉ . Line a 23cmx33cm baking tin with baking paper, over lapping 2 of the 4 sides (making for an easier release once baked). Give it a quick spray with Cook & Spray just to be sure. Set aside.
- Start by blending the biscuits until fine or place in a Ziplock bag and crush using a rolling pin. Add to a medium bowl with the melted butter and mix until combined. Evenly spread onto the baking tray and place in the fridge until the sponge is ready.
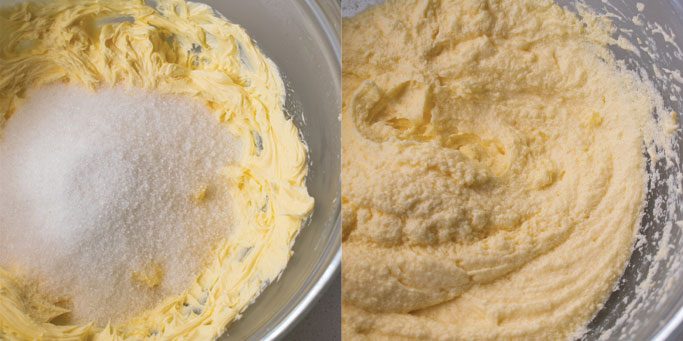
- In a large mixing bowl, add the softened butter and whip until lighter in colour. Add the sugar and whisk until even lighter in colour and mostly combined, about 3-4 minutes.
- Add the egg whites and whisk until mostly combined, about 3 minutes. Add the flour, baking powder and salt. Do not yet whisk, first warm the milk mixture.
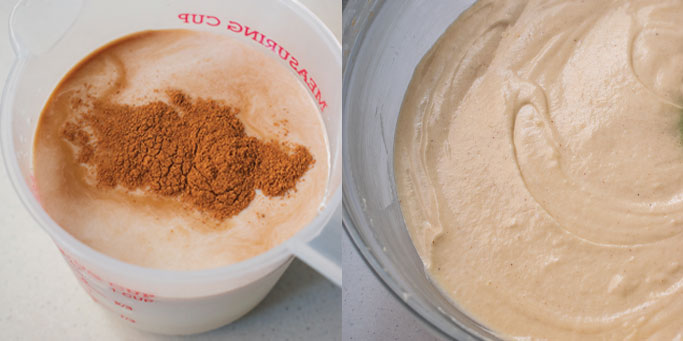
- Add the milk to an microwave save pouring jug, add the vanilla essence and ground cinnamon. Whisk until mostly combined. Microwave for 90 seconds or until warm, stirring in between.
- Give the dry and wet ingredients a rough whisk until roughly combined and add the warm milk mixture.
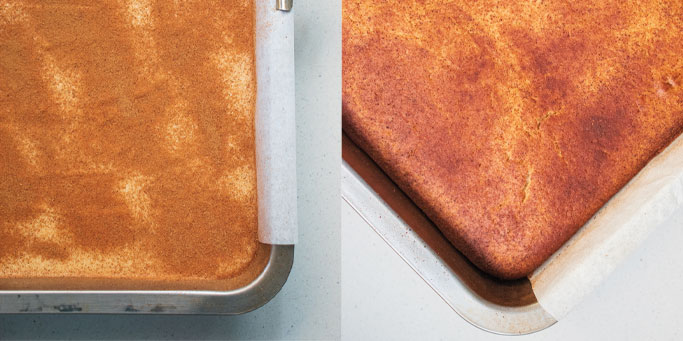
- Remove the biscuit base from the fridge and pour the batter over the base. Evenly spread, ensuring the surface is even. Sprinkle over a generous amount of ground cinnamon or as desired. Note: the more cinnamon you add the more milktarty it'll be
- Bake for 40-45 minutes or when poked with a skewer it comes out clean.
- Allow to cool slightly before removing the sponge from the tray. Once the sponge has mostly cooled, you can start sectioning the sponge into rusks using a serrated knife. Note: Aim for 4 rusks lengthwise and 8 rusks width wise (this is a personal preference but you can slice them thicker or thinner - it's up to you). The thicker they are the longer they will take to dry.
- Drying: Preheat the oven to 90℃/194℉. Lay the sectioned sponge out onto a baking tray that's been lined with a rack, ensuring the tray isn't overcrowded. Place in the oven, with the door slightly ajar (using a cloth) ,and dry for 6 hours or until fully dried (overnight can also be an option). Note: the rusks must be fully dried otherwise they'll slowly start to soften and stale.
- Once hardened, it's time to make that hot cup of coffee and get dunking! Geniet dit, julle 🙂
Video
Notes
1. Biscuit Base: You can use any biscuit of your choice. I'd recommend basic sugar cookies, coconut cookies etc. Choose a biscuit that's on the plainer side so that it doesn't deliver an overly sweet rusk. If you're using a coconut flavoured biscuit (like Tennis Biscuits) then just be aware that it'll have a slight coconut flavour (which I personally love).
2. Butter: using salted or unsalted butter is all the same to me because the amount of salt it adds to the overall flavour profile is minimal so use what you have. I'm not a fan of margarine as it delivers a specific taste to the overall rusk but if you fancy it then go ahead and substitute the butter with margarine.
3. Sugar: I prefer white sugar because light brown sugar will darken the batter's colour and I wanted a "whiter" batter to imitate the layers of a traditional milk tart.
4. Egg whites: using only egg whites means the batter will be lighter in colour, again, I wanted the batter to be lighter in colour to mimic the layers of a traditional milk tart. Add the egg yolks will yield a richer and denser sponge. 5. Storage: store in an airtight container to prevent spoilage or softening of the rusks. If they soften for whatever reason then feel free to redry them in the oven at 90℃/194℉ until the unwanted moisture has been removed. Store for up to 6 months.
My South African husband absolutely loved these and requested I make them over buying Oumas rusks online (we’re in the US). We can’t wait to try all the other variations you post recipes for!
Loving this. On my second batch now.